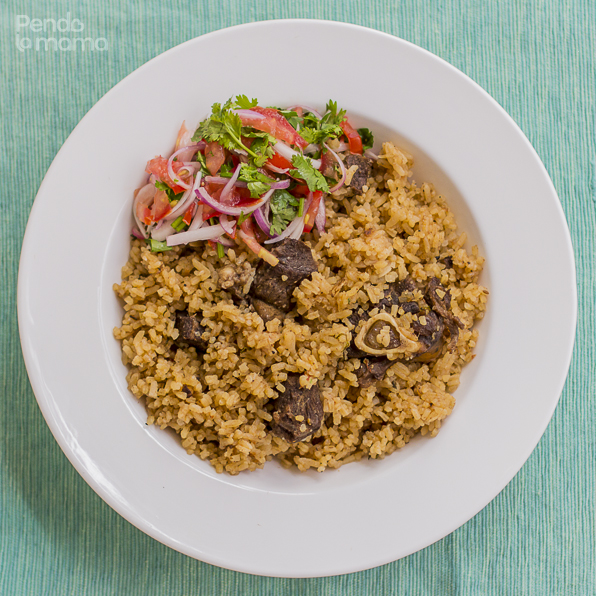
I’ve heard it said that the best people to learn how to cook pilau from are the Swahili women that live along the coastline of East Africa. Well, I could’t make that trip for this, but I had the best person to learn from show me how to make this pilau — Mama! Mama-in-law to be precise.
As I make this post I’m remembering how my own mother used to have me join her in the kitchen so she could teach me how she makes things. I should have payed more attention. To every child their mama is an amazing cooks — at least mine was! And now I have two — how blessed am I?! (^_^)
Mamas are our first teachers for soo many things, and the wisdom we receive from them is priceless. If I could talk to my younger teen self I would tell me to spend more time with mama, ask her more questions. In fact, ask her all questions!
OK, enough of sentiments, on to the pilau recipe…
First, lets talk about the pot. You will need a thick bottomed sufuria. Why? To avoid burning at the base, one of the most commons problems or complaints associated with cooking pilau and other similar dishes — the bottom burns long before the rice is done cooking at the top. Have you ever seen guys put charcoal on the cover of the sufuria? It is an effort to avoid that problem. The thick/heavy bottomed pots allow for a more even distribution of heat to avoid that problem.
Secondly, the rice to meat ratio. I’m sure you’ve come across pilaus that hardly have any meat in them, and others with none at all. Occasionally there is the one with just the right amount of meat to rice ratio. It’s all really a matter of personal choice, based on the accompanying dishes in your spread. If you have other meats then the pilau really doesn’t have to have a lot of meat, you may even choose to have none at all.
This was the main dish this day so we cooked 1.5kgs of meat (weight before cooking) to 3 cups of rice. I count 3 servings per cup of rice, so nine servings total. Close to 170g of meat per serving (166.6 to be precise) which is generous. I hope that helps you gage how to proceed with yours.
Start by cooking the meat first. Boil it/pressure cook till it’s soft, do add salt to taste and save the stock.
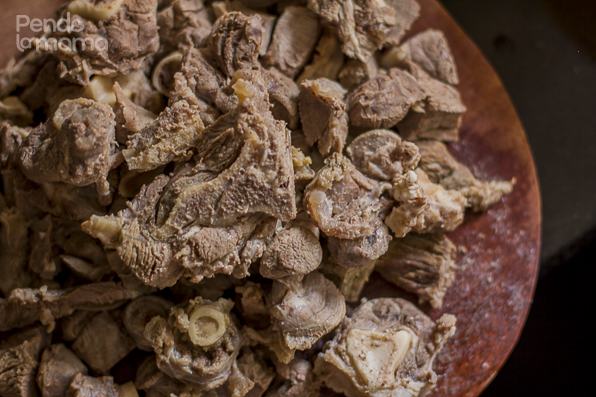
While the meat is cooking, you can prepare the other ingredients.
Now about the onions. I have learned that onions are very important for pilau. They form the base flavour for the dish. Its important to have enough, and important to cook them right to get that base flavour. You won’t even see them in the pilau but when you don’t have enough of them you will miss their flavour.
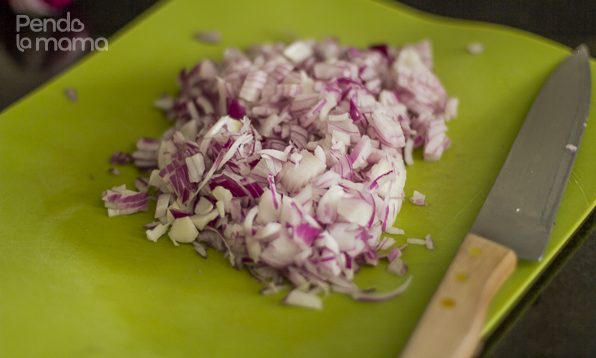
For the 3 cups of rice we chopped up 2 large onions. Put them in a pot with some oil, turn on the heat, medium to low, and let them cook till they caramelise. Watch closely and stir often, they should not burn. Should not be black, just kissed with that golden brown (see photo below).
Just a quick
While the onions and meat are getting ready you can start working on the spices. Yes, I multitask quite a bit in the kitchen! (^_^) Here is your list of spices:
Heaped tsp. black pepper
Handful cardamon pods (roughly 60 pods if you’d like)
1 tbsp. cloves
2 star anise
1 large cinnamon stick
2 tbsp. cumin seeds
No, we did not measure the spices so precisely. Mama has been making pilau for so long she really doesn’t have to. But I noted the amounts she used to make her mix for my later use and this post. Mind you, we will not use it all,…
Put all the spices in a pan on medium heat for about a minute, or until you get hit with that delightful aroma! Please please please, do not walk away. Stir continuously the whole time. Don’t allow them to burn.
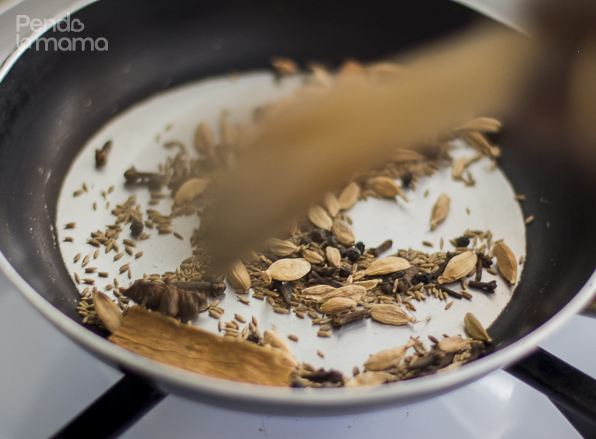
After a minute or so it’s time to crush them, put them all in together and crush away! Crush till as small as you can get them. I would not recommend using a blender though. As the cardamon pods open up and release the seeds, you can remove the empty ones and discard.
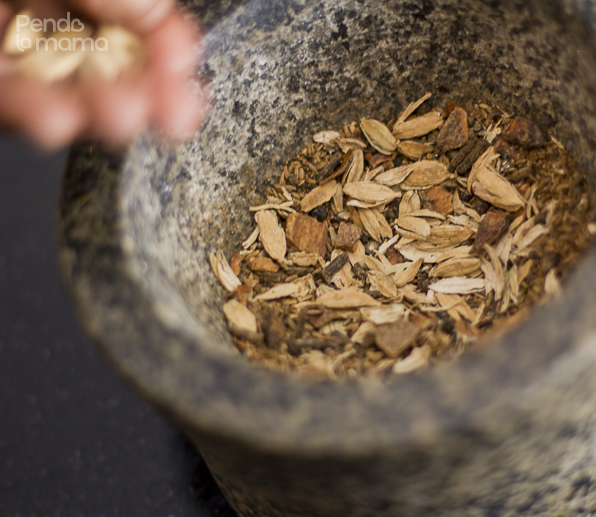
You should be done with the spices just about when the onions are ready.
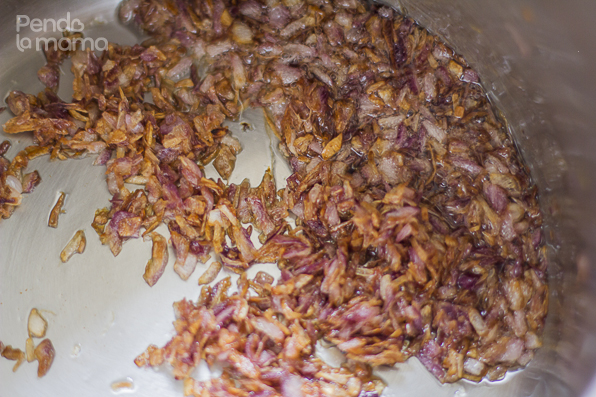
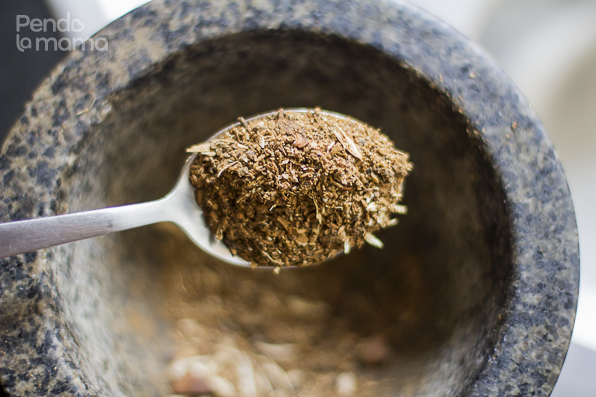
Time to add spices to the onions. We added 2 of these tablespoons to our onions and continued to fry on low heat, stirring often. Can now prepare the garlic and ginger. About half a bulb of garlic and about half that amount in ginger.
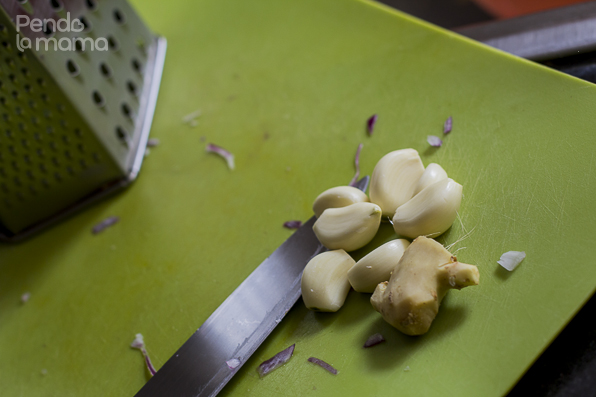
Add to the onion and spice mix
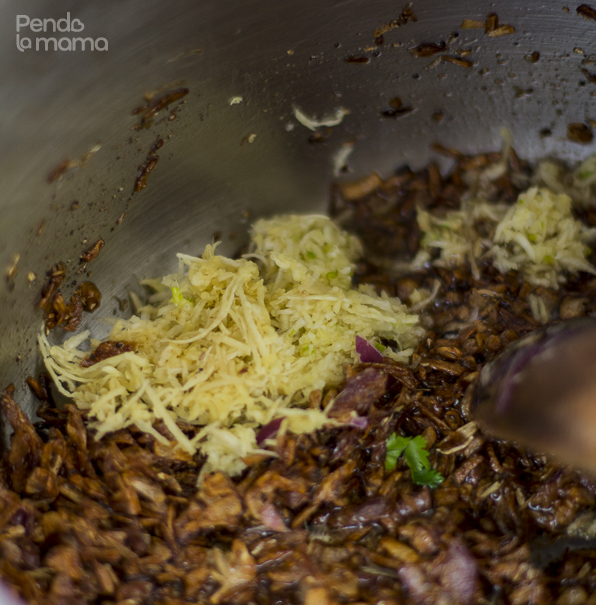
Don’t worry too much about the colour. The onions will be looking really dark now from the spices, but as long as they’re not burnt, they’re fine. monitor closely and keep stirring on low fire.
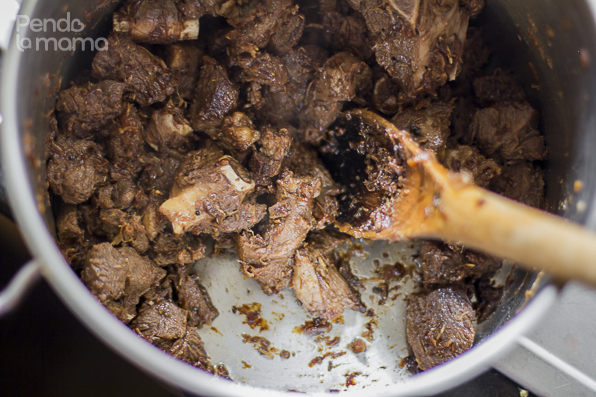
Once the garlic and ginger have mixed in nicely with the spices and onions and softened a bit, add the meat. Stir to mix and let it continue to fry on low heat.
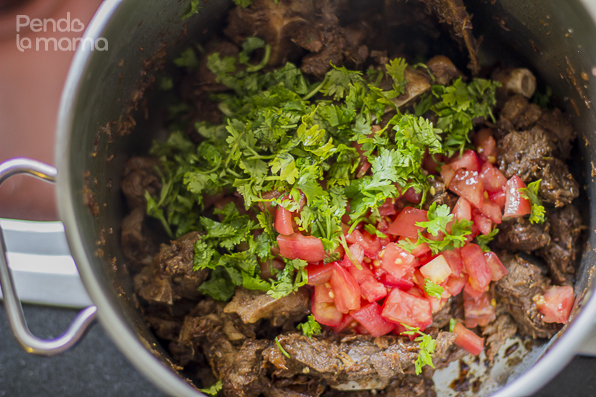
Chop up some dhania, about half a bunch and two tomatoes. Add them in when they’re ready.
Turn up the heat to medium and continue to fry. It will be like a dry-fry, in fact it will look and smell so good you’ll want to steal away a small piece of meat just to taste!
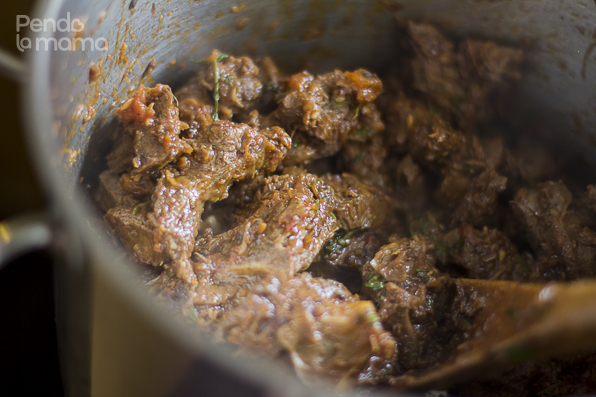
Once the tomatoes soften like in the picture above, you are ready to add in the rice. So add into the pot, enough liquid for the rice to cook. In our case it was 6 cups. Remember that stock you saved earlier on when when you boiled the meat? This is where you use it. I had enough stock for two cups and then the rest was water.
Stir, increase heat to high and bring to a boil. Once it starts to bubble you know it’s almost time to add the rice, so measure it out, wash and be ready to add it in when it’s fully boiling. Don’t was the rice to early, you don’t want it sitting around waiting and soaking.
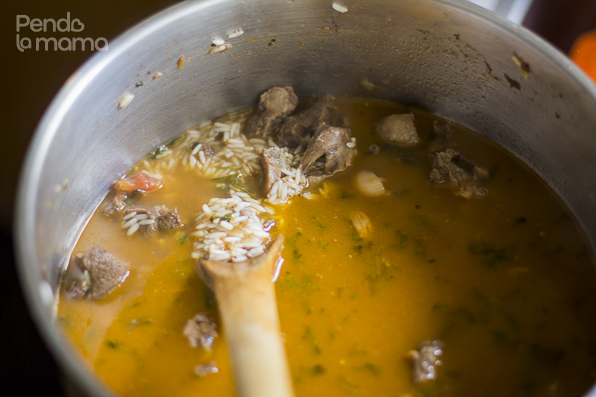
Once you add the rice it will cool the liquid a bit so bring it back to a boil, and add salt to taste for the rice. Take a teaspoon of the liquid to taste as you bring it back up to a boil. Add salt till it tastes like it has enough, that’s how test for salt. Once it’s boiling again reduce the heat to low and cover. Continue cooking just like you would normal rice. Monitor closely so that the bottom doesn’t burn.
The stock is not absolutely necessary, you can do this with just water and it will turn out just fine. I would suggest though, if you are making a pilau to be part of a spread that already has several other meat dishes, and you choose to do a meatless pilau, then having some stock to cook the rice would be nice. It’s still not necessary, I just think it would be nice for added flavour.
Once the rice is cooked and the excess water is gone, it’s ready!
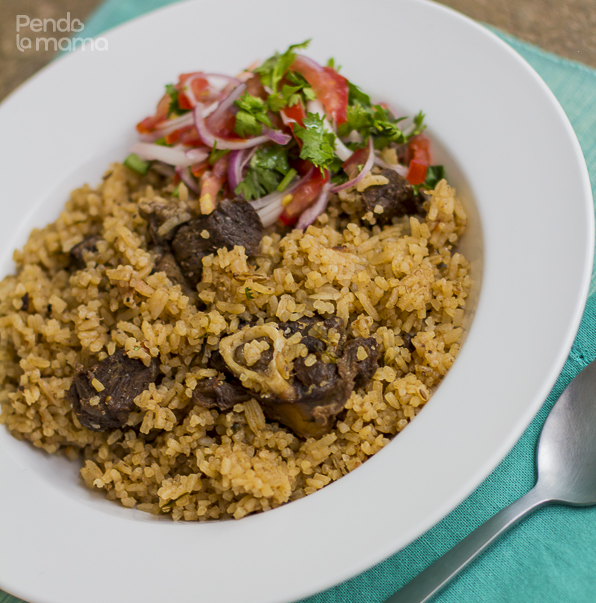
I think it’s amazing that after adding all those ingredients, onions, tomatoes, dhania etc… none of them survived to the end, the rice just gets kissed with this yummy colour and infused in the combined flavours. And it is so so delicious.
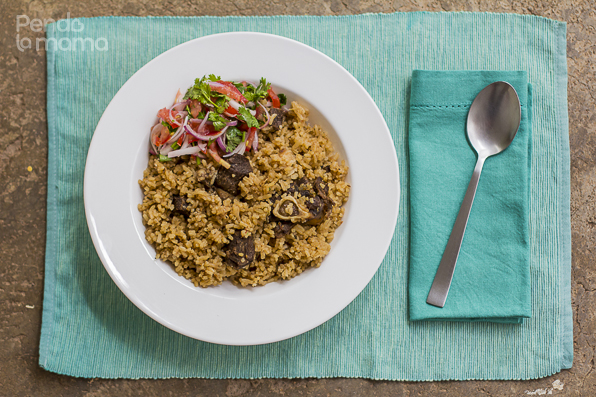
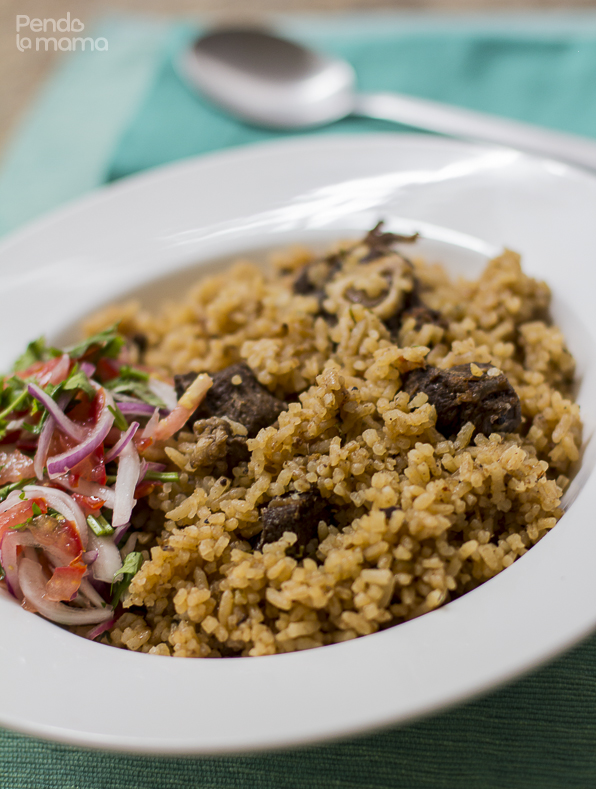
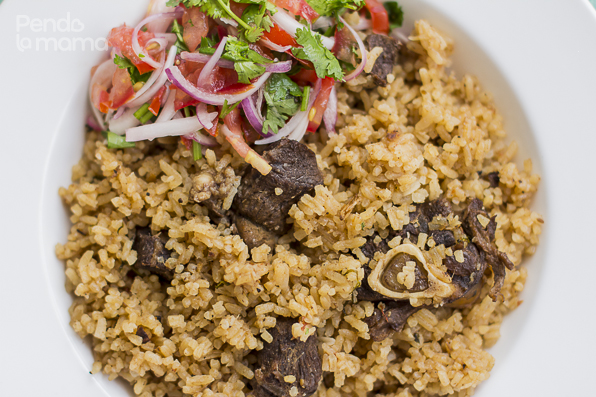
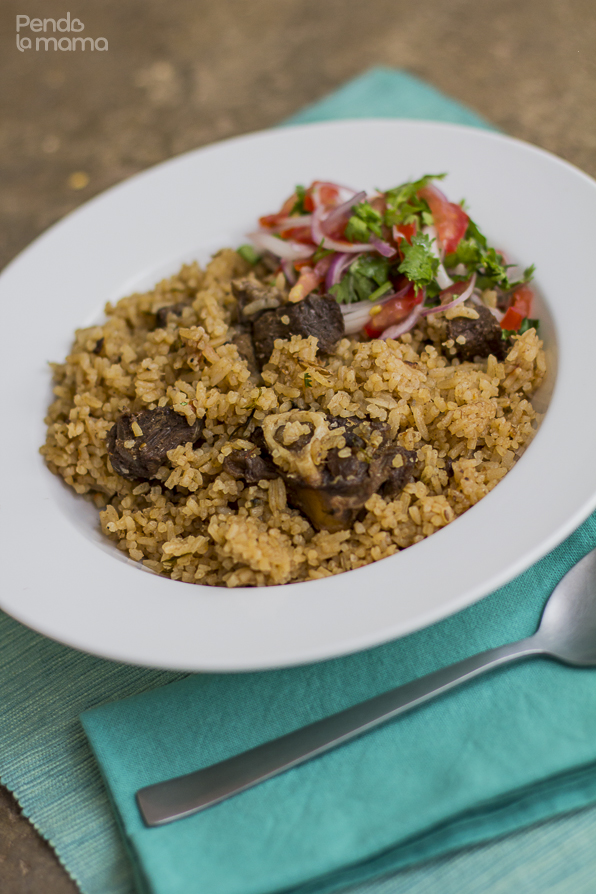
Now you’re ready to make the best pilau ever — go go go! Try it this weekend and let me know how it goes.
If you already make an amazing pilau, do share your process and tips in the comments below. Know how to make it faster? Share in the comments below. Is your mix of spices different? Share below as well.
A blessed weekend to you!
have got to try this that kachumbari looks good
hey let me know when you do…..nakam kudoea….abit.
yes noticed that too….looks awesome….just drooling over the pics….
Pilau is common but to have that ‘mmmmmmhh……’ taste requires some good cooking. This recipe looks good, will try it out
yes yes!
Do let me know if you get that ‘mmmmmmmmhh…..’ with this recipe! (^_^)
I love you ideas and thoughts on how to prepare exciting food. Keep up with the good job. It would really be something to have a chance to work with you Benjoes Grill Caterers.
Hey Samantha!
Thank you for dropping by and for the complements! Will check out your link (^_^)